Linux Quickstart
This quickstart guide is for using Jupiter Nano with Linux, and assumes you are familiar with Linux and Internet networking. If not, please see Linux on the Jupiter Nano.
Creating a Bootable Micro SD Card - Linux
Download this disk image and burn it to your Micro SD card using Balena Etcher.
Connecting to Jupiter Nano
Jupiter Nano has been tested on macOS and Linux. If you have problems, please contact the Jupiter Nano mailing list.
Install the Micro SD Card.
Plug in the Micro USB cable to the Jupiter Nano Console port.
- Start a serial terminal:
$ picocom --imap lfcrlf -b 115200 /dev/ttyACM0
(Or use whatever device your serial terminal is on your machine.)
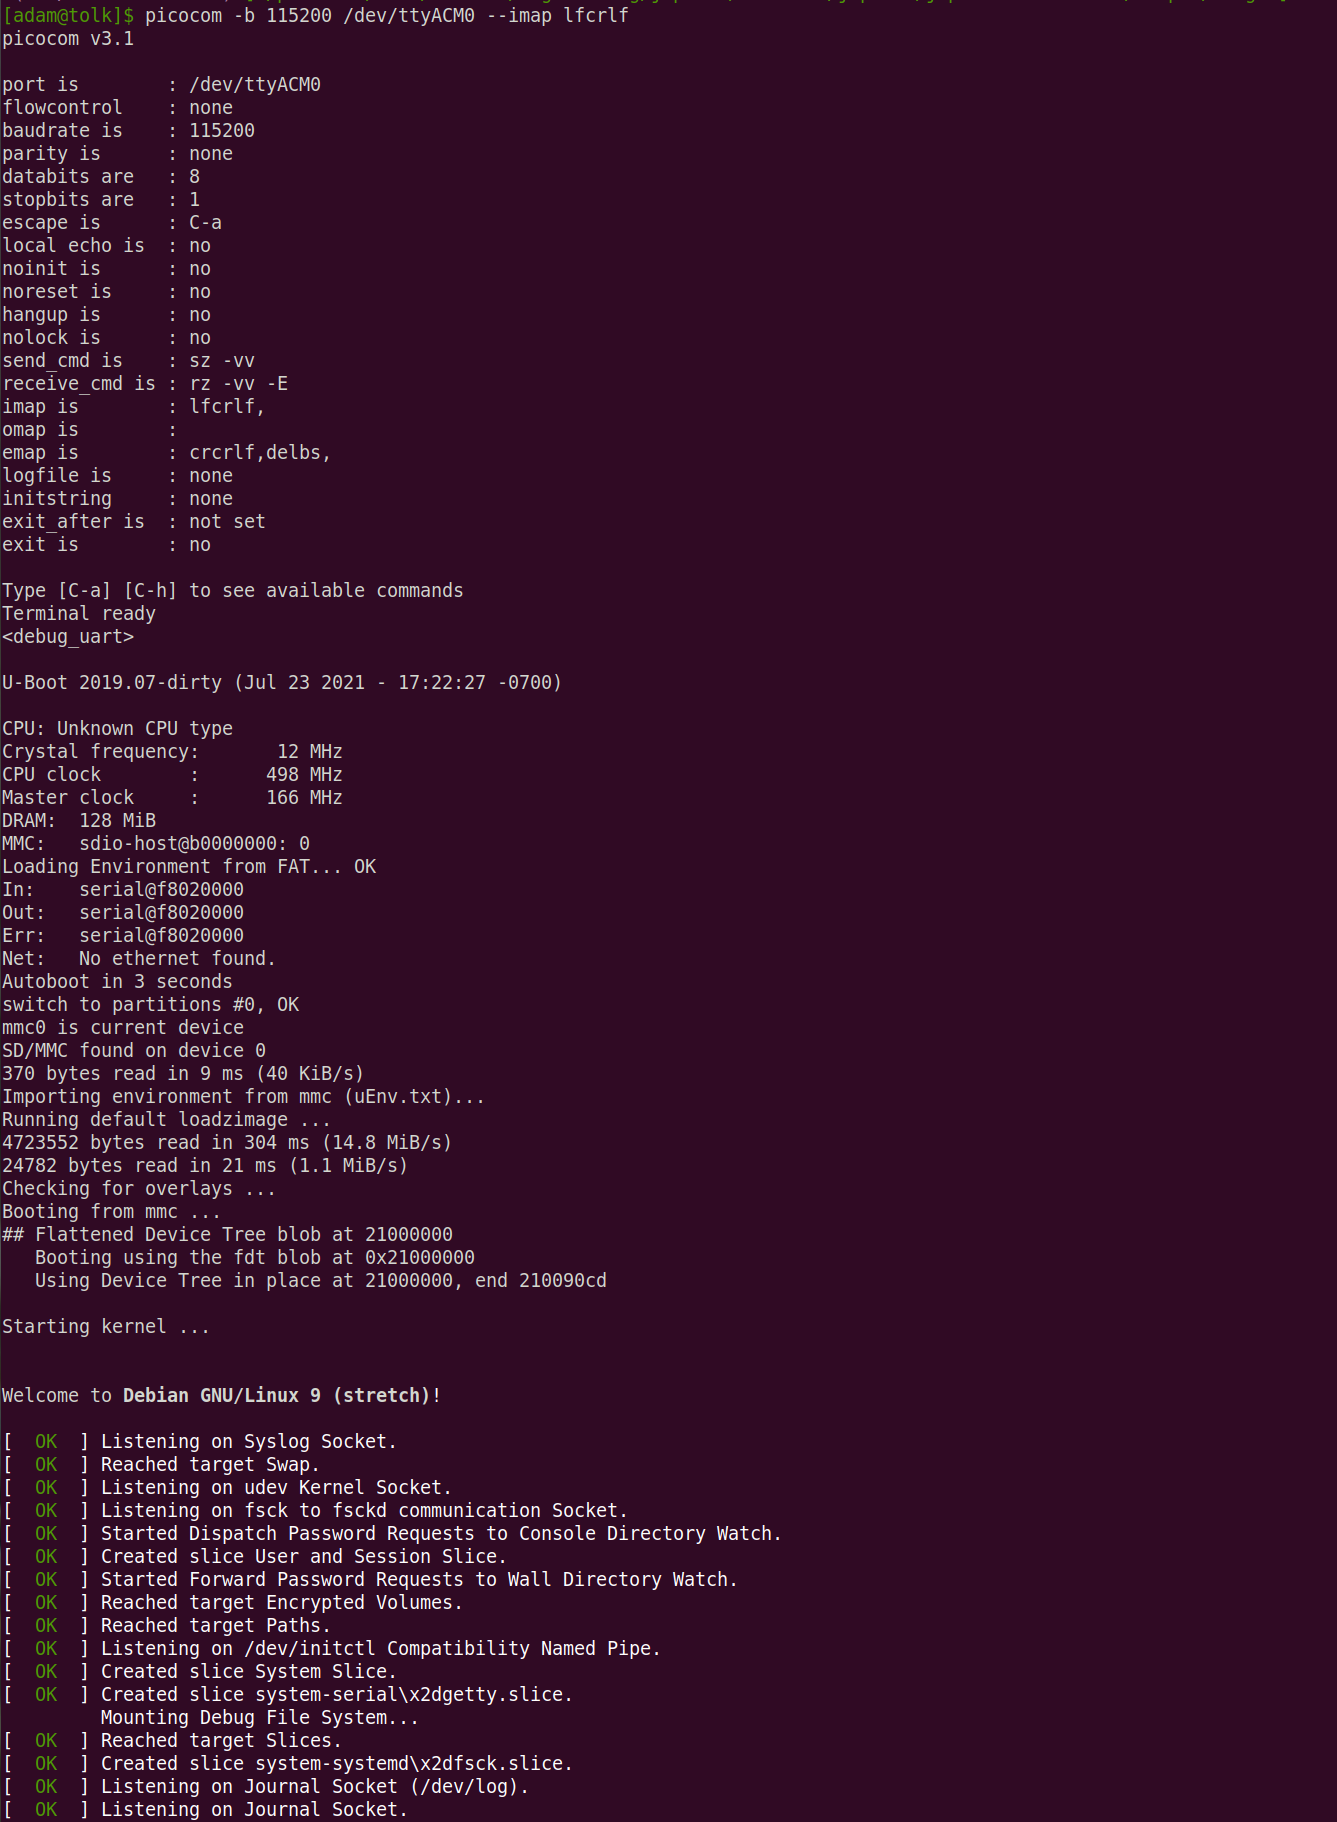
You should see the system booting (click the image to enlarge it):
- Log in
Login: debian
Password: password
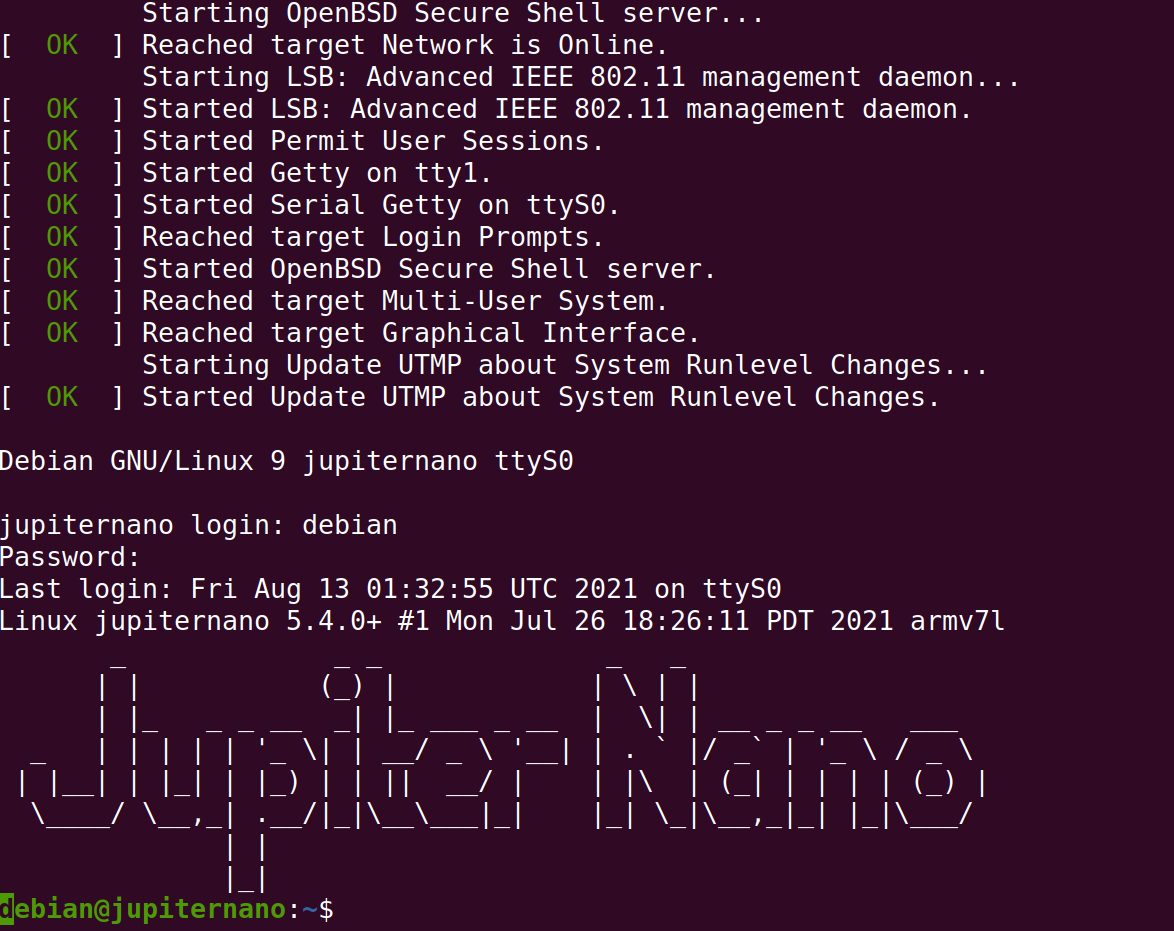
You should see something like this:
- Do something:
$ ls -FA /
Networking Using Ethernet over USB
These instructions have only been tested on Linux. On macOS and Windows you will need to do something similar to what is in the netusb.sh script. If you get a script running for these platforms, please contribute it to the Jupiter Nano Tools repository via a pull request!
Plug a Micro USB cable to the Jupiter Nano Native port (keep the Console cable plugged in)
- Using the Jupiter Nano console session, start the network:
$ sudo /usr/bin/netup.sh
This will bring up the
usb0USB Ethernet Gadget interface, give it an IP number of10.0.0.2, and set the default route to10.0.0.1.On your Linux workstation, set up the network there (replace
wlp0s20f3with the name of the network interface that you use to connect to the Internet):$ cd jupiter-nano-tools $ sudo ./scripts/netusb.sh wlp0s20f3 usb0 onThis brings up the
usb0USB Ethernet Gadget interface on your local machine, gives it the IP address of10.0.0.1, and sets up routing to the Internet.- Then you can do:
$ ping 10.0.0.2
$ ssh debian@10.0.0.2
- On the Jupiter Nano console or ssh session, you should be able to do the following:
$ ping 10.0.0.2
$ ping 8.8.8.8
$ ping www.google.com

